By Barry Kluczyk
Rebuild an engine? I’ve done it.
Brake jobs? In my sleep. Rebuilding a front suspension? Nothing to it.
But the thought of tackling an interior had me petrified – and I bet many enthusiasts find themselves in the same boat.
With those other mechanical projects, the procedures are pretty cut-and-dried: Remove, replace and torque to specifications. But when it comes to the “soft parts” of an interior and nagging possibility that one wrong move could ruin the project or, at least, costly restoration parts, well, let’s just say I put off working on the interior of my ’65 Pontiac Tempest wagon for as long as possible.
The car is straight and complete, but worn, faded and in need of the basics on the inside: Door panels, painting, wind lace, a headliner and a host of miscellaneous details. In fact, one of the reasons I put off the interior project was I didn’t have a handle on all the needs. That’s step #1 – identify what’s required and order it all at once. Almost everything I needed came from Original Parts Group Inc. and the few things that didn’t were almost impossible to find anyway. They included the headliner and door panels.
I had to custom-order the headliner for the wagon and nobody, but nobody offered replacement Tempest four-door/wagon door panels. To be fair, OPGI has the headliner and door panels for two-door Pontiacs, while the basic procedures outlined in this story apply to just about every vintage GM vehicle – mine just happens to be a four-door box from Pontiac. Here’s a quick rundown of the parts I needed and the projects required to spruce up the cabin:
- New steering wheel to replace the cracked and broken original
- Door panels to replace the faded and ripped originals
- A headliner to replace the sagging remnant of the original
- Interior paint for various steel and plastic parts
- New wind lace to replace the absolutely filthy originals
- Dashboard turn signal lens
Because the car had a rubber floor, I didn’t need to invest in carpet, but I ordered a GTO-style engine-turned instrument panel inlay to dress up the dashboard. When the parts arrived, I got busy by dismantling and cleaning the interior and that was a worthy investment in its own right. The 45-year-old car had ground-in grime and the unmistakable goo that came with smoking cigarettes in it. Yuck!
Take a look at the accompanying photos and you’ll get a good idea of what it took to rehab the worn-out interior. I was delightfully surprised to find the various projects for the interior were pretty easy and came out better than expected. A lot of elbow grease, patience and an eye for detail were essential, but the results were terrific and gave the car an aura of newness.
It’s at this point that I should mention this was by no means a concours-type restoration, but a hands-on, do-it-yourself project for a car destined to be a cruise night warrior. At this point, the new headliner hasn’t been installed. That’ll the subject of its own story – and even after the success of the other components, I’m still gun shy about tackling that part of the project.
Take it from an interior novice: You can do this – and your car will look great afterward.
|
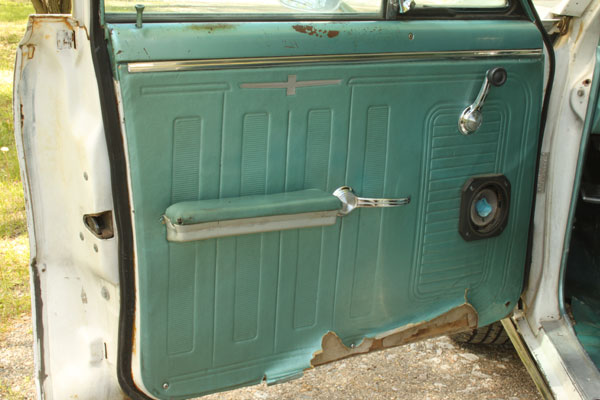
The condition of this original door panel was pretty much the same as the rest of them. They had to go. Check out the scratch and worn paint on the steel section above the panel.
|
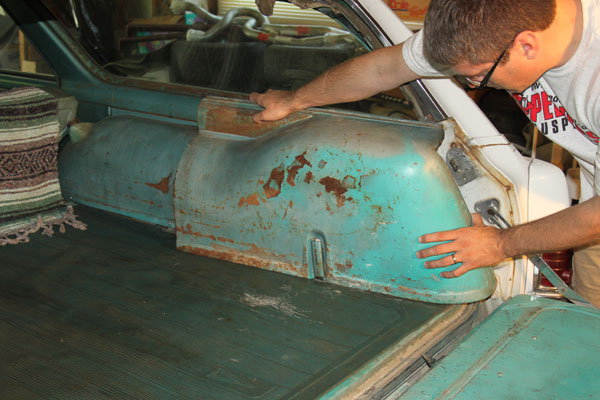
Much of the interior, particularly the cargo-area panels of the ’65 Pontiac Tempest wagon project vehicle, was composed of steel panels and they were scratched, dinged and generally shabby looking.
|
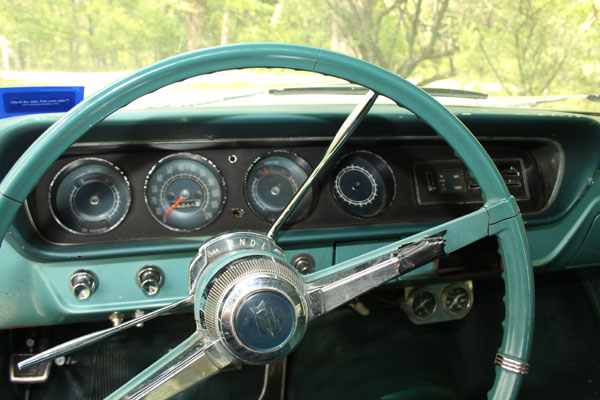
From the driver’s seat, the steering wheel was cracked and the center section held on with electrical tape. The dashboard had seen better days, too. Fortunately, none of the car’s needs were beyond reach.
|
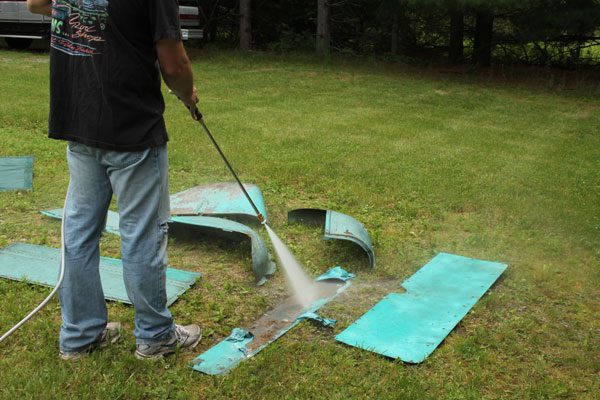
All of the steel panels were removed. After spending an hour on a borrowed media blast to strip one part, a better idea was concocted: Hit the panels with spray-on paint remover and blast off the bubbled paint with a power washer. It worked marvelously and removed about 90 percent of the paint on all the panels in only a few minutes.
|
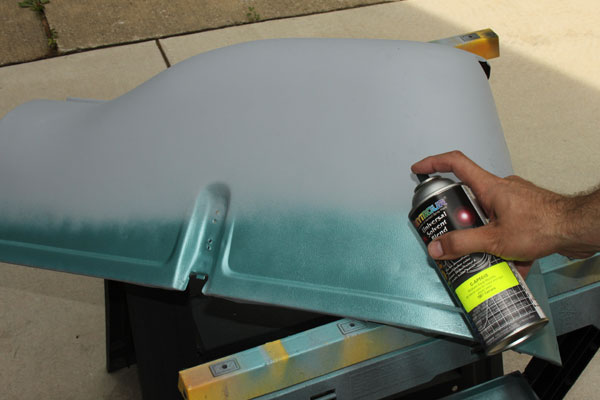
After tapping out a few dings on the panels, each was sanded, primed and sprayed with interior paint from OPGI. About three coats per panel were applied and the results were great. The panels looked new.
|
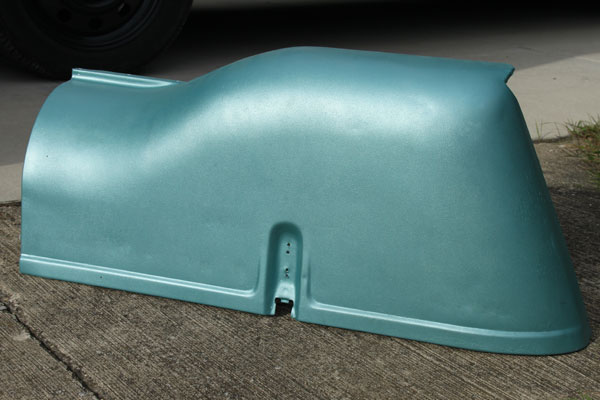
Here’s a shot of the same panel that was shown being removed in a previous photo. It’s hard to believe that just cleaning and carefully applied spray paint made such a dramatic change. It’s nothing the average enthusiast couldn’t accomplish.
|
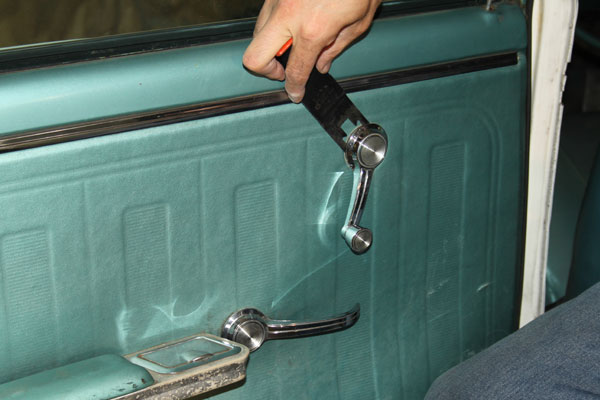
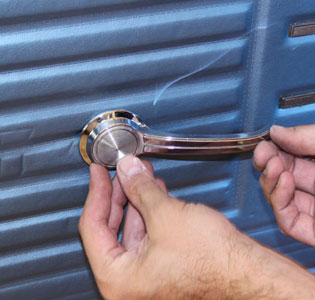
Next, the doors and door panels were attacked. To do it, the door handles and window cranks must be removed and for vintage GM cars, that take a tool similar to the one shown to pop out the retaining clips. OPGI has it: part number GTW0016.
|
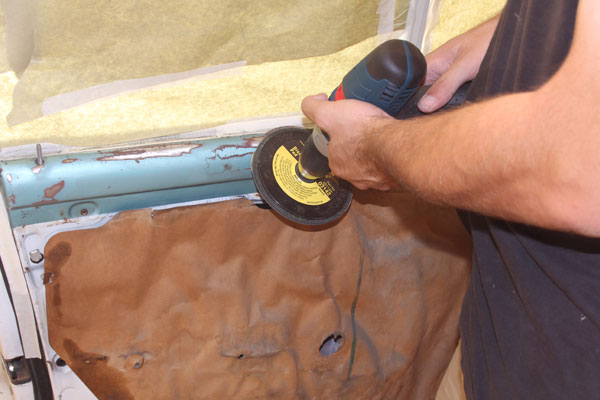
With the handles, trim and door panel removed, the upper steel section was sanded, primed and painted – after the window and surrounding areas were thoroughly masked off.
|
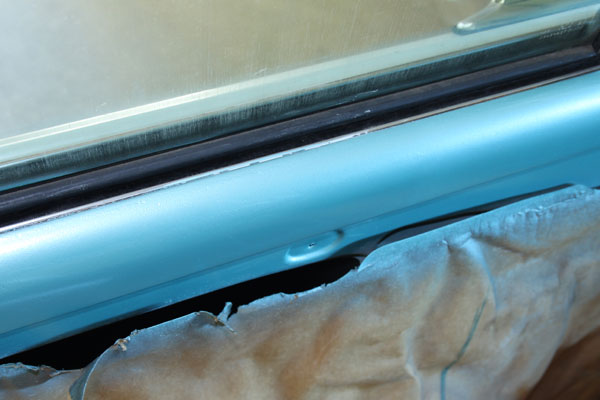
Again, a simple can of spray paint returned excellent results. After the paint was allowed to cure for a couple of days, it was wet-sanded, buffed and polished for a deeper, shinier finish.
|
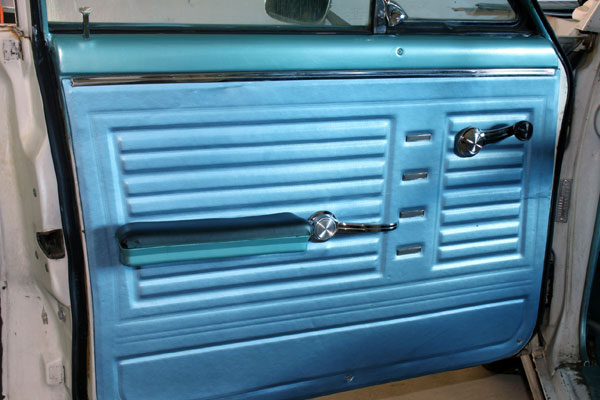
Purists avert your eyes! Because reproduction door panels were impossible to find for this four-door Pontiac wagon, as set of take-off panels was purchased from a buddy who had parted out a four-door ’65 Malibu. They were in excellent condition, the right color and didn’t have any telltale Chevy “bowtie” logos. They bolted right up using all of the original Pontiac mounting points, too. Compared to the condition of the originals, it was a huge improvement.
|
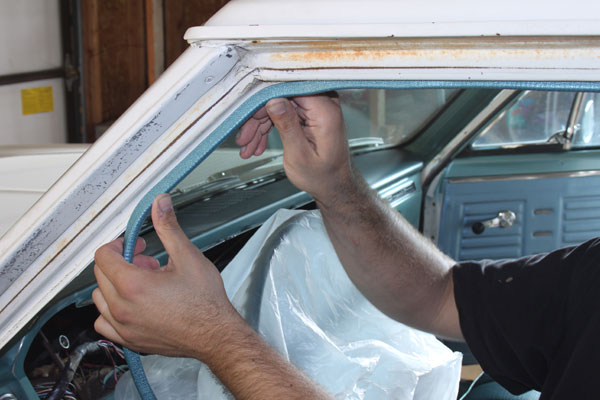
The old, filthy and hardened wind lace was replaced with fresh reproduction parts. It’s details like this that lend a more complete look to the project, while further the car’s transformation from grimy driver to clean cruiser.
|
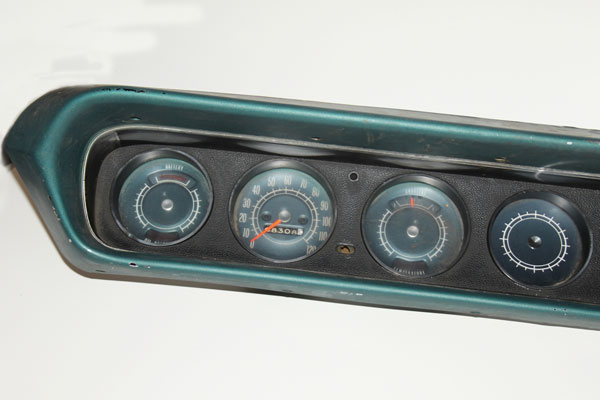
Refurbishing the instrument panel was daunting, because it required fishing around under the dashboard to disconnect the gauges prior to removal. And learn from this novice’s mistake: Remove the steering wheel before removing the panel. It’s a lot easier that way. The instrument panel was dirty, with cloudy lenses and broken turn signal lens.
|
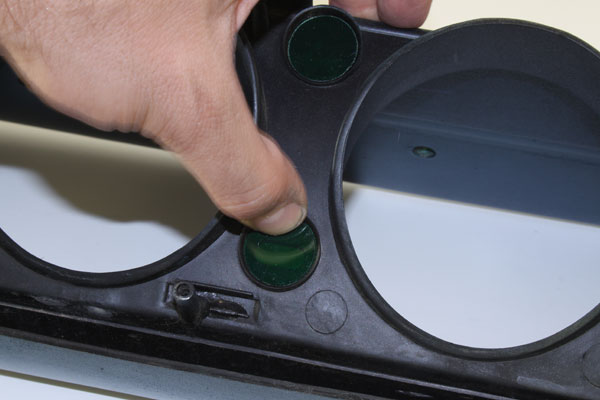
The replacement turn signal lens was a small but vital detail part that OPGI thankfully carries. Installing in place of the original, however, requires the complete disassembly of the gauge cluster. That’s OK, because doing so provides the opportunity to clean the gauge lenses and the gauge faces. They get grimy on the inside, because they’re not perfectly sealed around the edges.
|
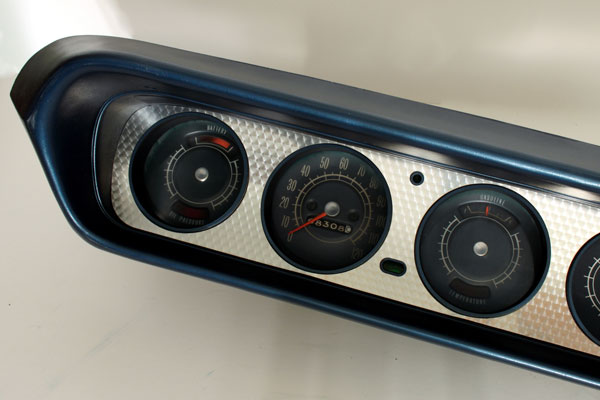
While the instrument panel was disassembled, the outer case was painted.
Next, the cleaned gauge cluster was bolted back in place and the GTO-style engine-turned
insert was installed. Again, patience and attention to detail were all that was required to give the instrument panel a brand-new appearance. It was easy.
|

This installment of the interior re-do was wrapped up with the installation of a Grant wood-rimmed steering (and complementing install kit) from OPGI. It looks and feels a lot better than the thin, cracked original wheel. Installation is straightforward, but a steering wheel puller is required. Most auto parts stores loan them for free or a small fee.
|
 |
Welcome to our first ever, “Best-Sellers” catalog for the fall-winter 2011 season. Our staff-of-experts have chosen the best values, finest quality and the highest-in-demand parts and accessories and have put it all together in this new comprehensive restoration parts only catalog. Of course, you can view our fully stocked line of high-performance, aftermarket, and pro-street parts by simply logging on to our industry-leading website, opgi.com.
|
 |
|
A completed look at the OPGI Riviera:
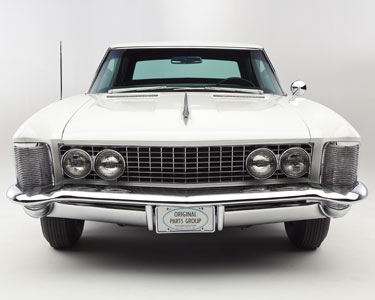
The crew at J & H Restorations did a great job on the `64. We are extremely pleased with the results of our soft trim. Bellow are a few studio shots of the car completed.
|
 |
 |
|
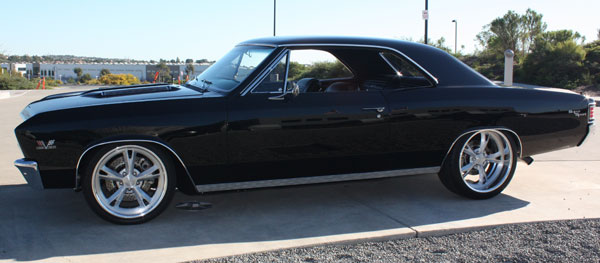
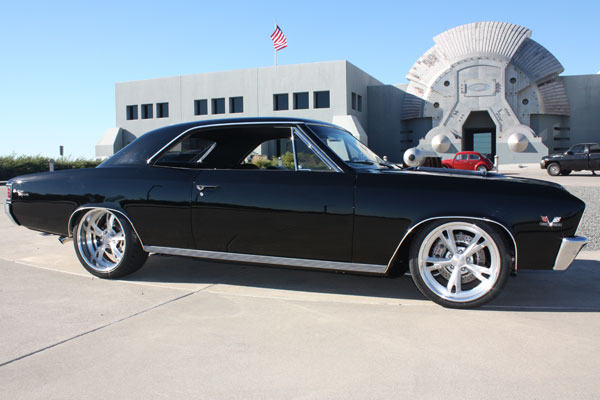
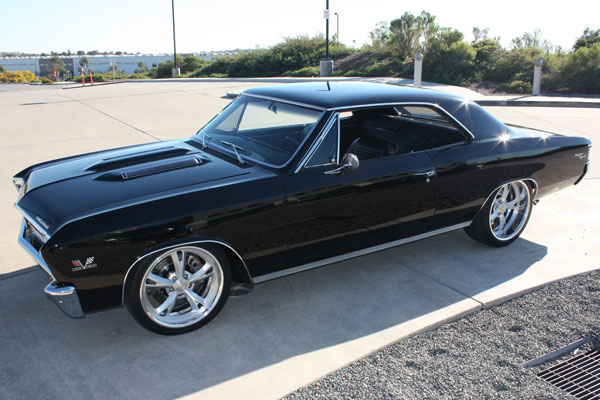
A True SS 138 car - originally Butternut yellow 4 Speed bench seat car. Purchased in Michigan in 1967 and made its way to Southern California sometime in 2000. Originally I purchased the Chevelle to be a nice driver. The car needed a motor and interior, but the body looked decent. The car had been painted white, the original 396 was gone and the 4 speed was swapped with a T400 auto transmission. When I started to take the car apart I found a lot of hidden rust and body damage. I made the decision to do a frame off restoration.
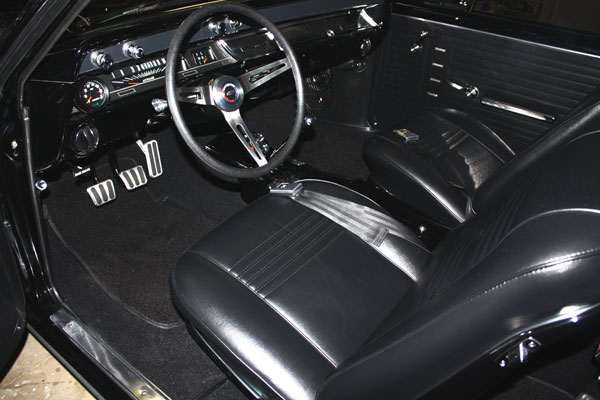
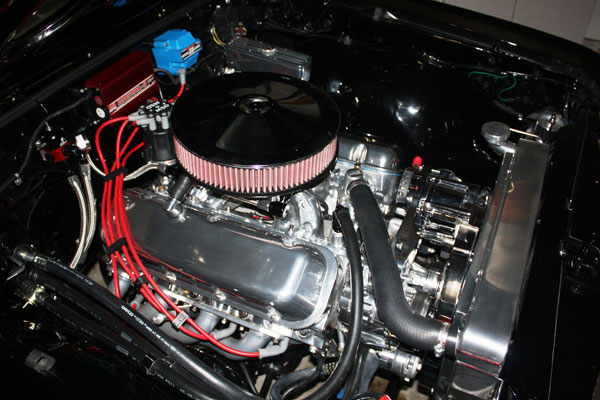
The Chevelle is a SS 138 car but since the car was missing the original 396 and 4 Speed I decided to build the car as a Resto-Rod. I wanted all the factory good looks but with a healthy big block, 4 Speed and a stance / wheel and tire package that would make the car standout at the local car show. To accomplish my goal I found the right parts supplier – Original Parts Group, the right Body and Paint guy – Doug Shelp Huntington Beach Auto Body, the right shop to help me put the car together – Top Line Performance Huntington Beach, CA, the right interior guy to install the OPG interior - Geisens Auto Interiors, Laguna Hills, CA and the right wheel tire suspension guy – Driverz Inc Corona, CA. I’m very particular and wanted to do it right and not cut any corners. The bodylines on the car needed to be perfect! I relied on OPG to help me get the right quality parts needed. The Chevelle has a new right rear full quarter panel, new floorboards, new truck floor, new rear ceil panel, new truck lid, lots of new trim, grill and taillight bezels and a full new Interior – every piece was purchased from OPG. The car came out spectacular! My body man was impressed with the quality of the parts – especially the rear quarter as he was reluctant to install until he looked over the replacement and after install told me it was the best aftermarket quarter panel that he has installed.
|
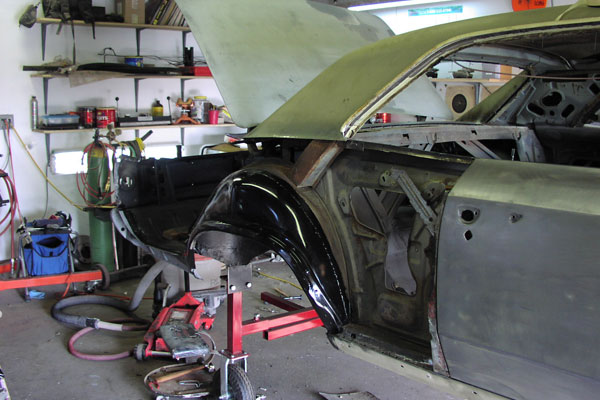
Rear quarter panel replacement
|
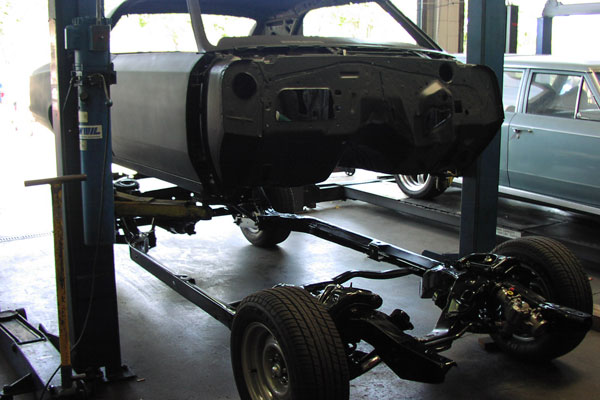
Mating the body to the freshly restored frame
|
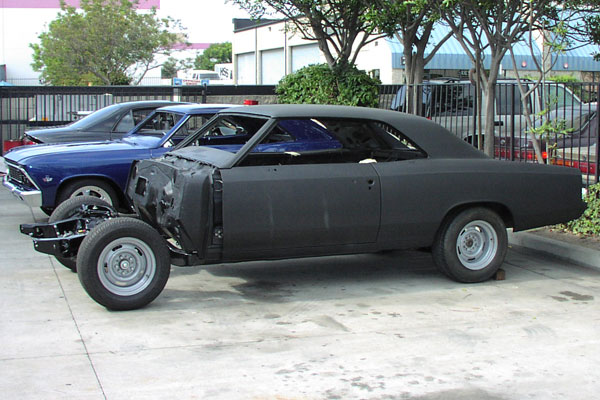
Ready for some paint.
|
As you’re reading this you’re probably wondering why 9 years to complete. Well I think I’m a typical car enthusiast, some hands on ability, middle class income looking to build a car as nice as possible on a budget. The key was to find the right people to help me, quality parts at a good price and the patients to put the car on hold when time and money were limited. If it wasn’t for the shops mentioned above – especially Original Parts Group this car would not have come out as nice as it has. I am so happy with the results and honored to share this with my follow Chevelle enthusiast. |
|
|
|
|
|
|